Qualtrics - How do you setup a vote to make sure only one vote per person?
Start with the settings for the Survey Options
Make sure you set the survey to By Invitation Only
- Survey Options
- Security tab
- Survey Access
- Invitation only
- Prevent multiple submissions (Given that using Qualtrics Panel would often result in only one submission, this setting would provide double protection.)


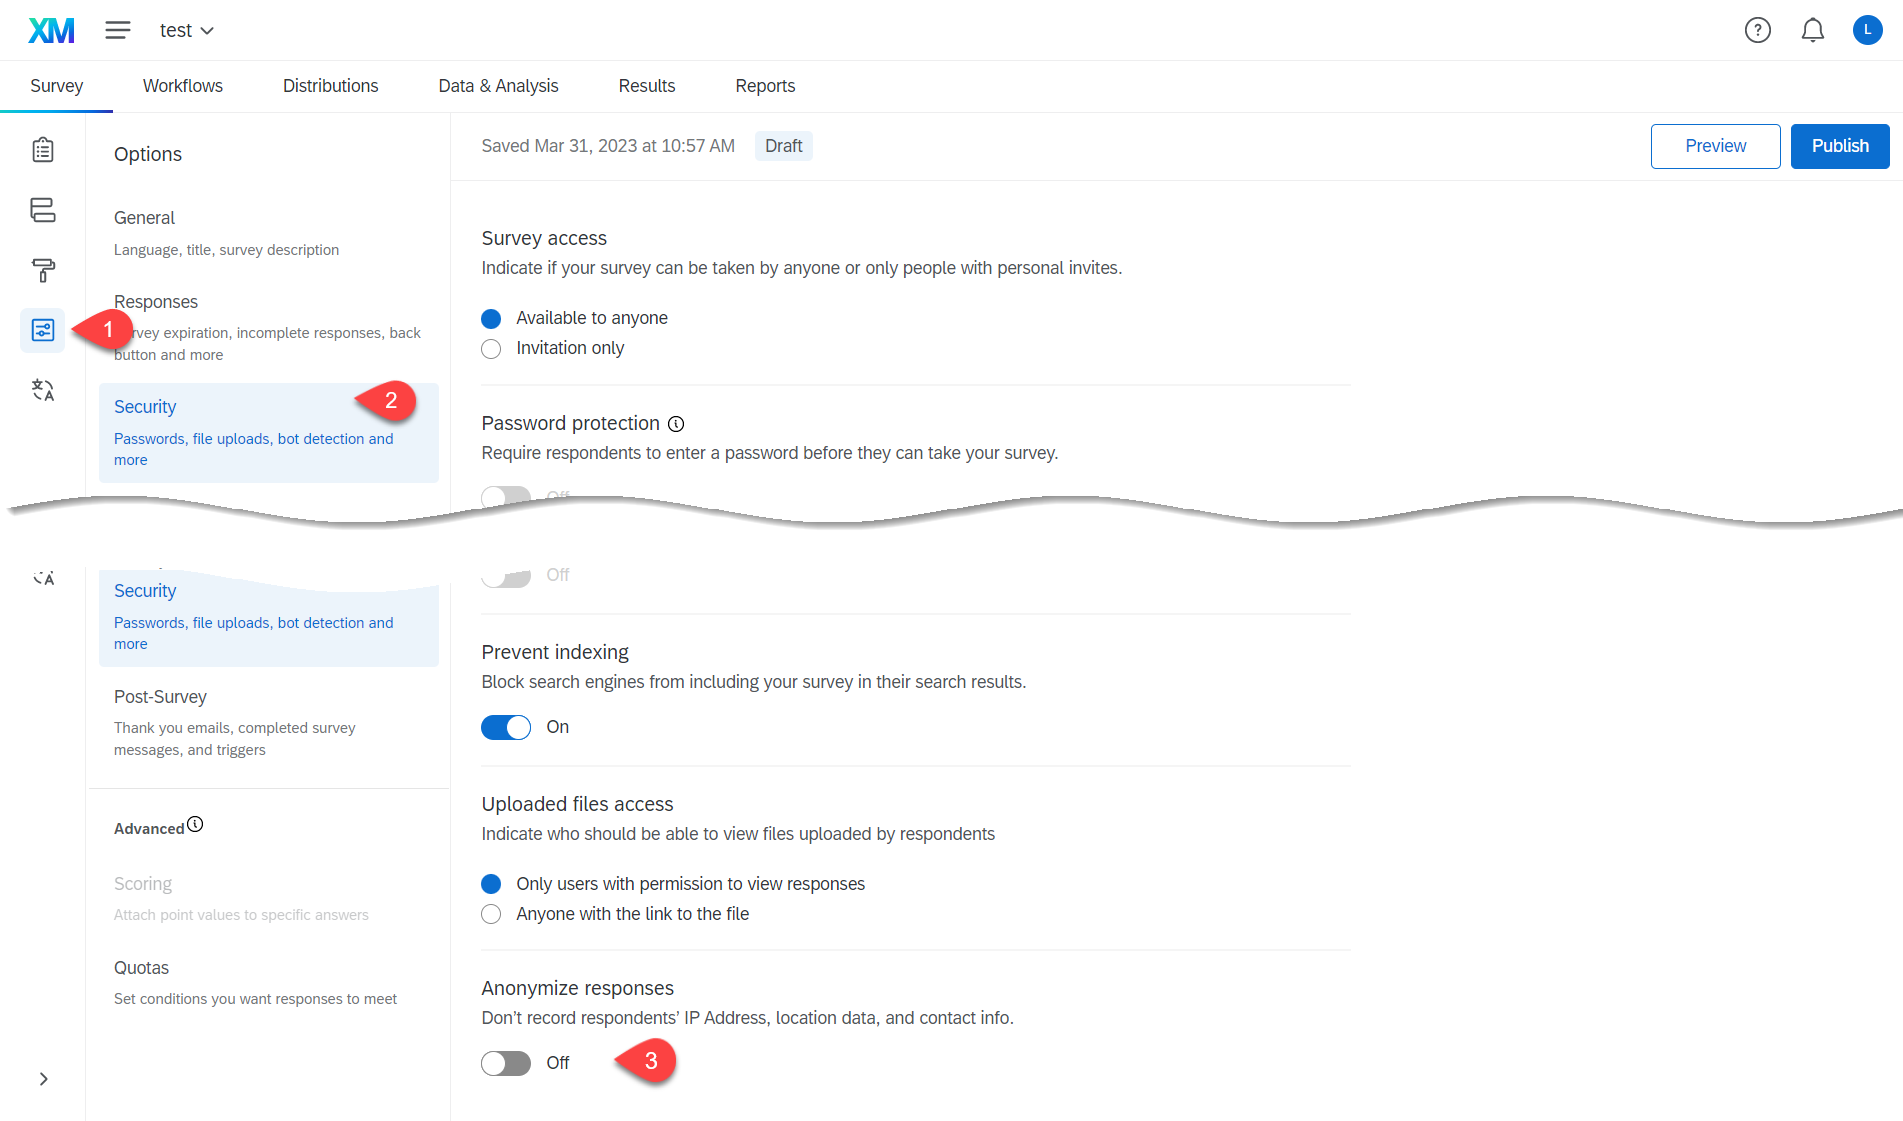
Setting Anonymize Responses
This option takes off the email address, IP address, and GPS Location but you will be able to send out reminders to the people that have not responded. You can turn on Anonymize Responses before running the reports and downloading the raw data if you wish to retain this information on until the vote is over so you can verify everything. Once the option is selected, the data is removed and cannot be re-displayed. If you require a list of respondents you can still find a list without identify their responds.
- Survey Options
- Security tab
- Anonymize responses
Optional - Adding Authentication
- Survey flow
- Add a New Element Here
- Authenticator
- Move the Branch of Successful Authentication to the top of the survey
- survey blocks of the survey will need to be move into Branch (repeat for all blocks) Note: The blocks can be highlighted and moved using the arrows on your keyboard if the move and drag function does not work.
- Authentication Type: SSO
- For Vote you should also associate Respondent With Panel (Look for the list or Panel you created in the Library)
- Capture respondent identifying info is optional
- SSO Type: Use Brand Settings
- Options: Change or check how many times you can try to login
- Apply


Confirm that the Authentication is at the top and that everything below it is part of the blue arrow that indicates Add a New Element Here. When you're finished moving, make sure to hit Apply.
Email addresses
Emails addresses cannot be Listserv email address. If you are the owner of the listserv you can download the email addresses that are in the listserv. Please ask the owner of the listserv you wish to utilize to download the list for you if you are not the owner. If you let Emily Berg know who should be on the list and how it will be utilized, she can also make lists for you.
If the is list contains fewer than 200 emails
- Distributions
- Emails or Distribute survey
- Compose Email can use either
- Select Contacts
- Lists
- New Contact List
- Create Contact List
- Name the contact list/panel
- Type or copy/paste the email addresses and other information you need. Email addresses is the only required field.
- Create
- Finish the Compose Email
- Pick when you want the email to go out - Options are Send Now, Send in 1 hour, Send in 8 hours, Send in 1 day, Send in 3 days, Send in 7 days, Send in 14 days, Send in 28 days or Custom
- Subject
- Message - Add your message. Ignore the links that seem odd, they are piping the survey ID. (When the option Invitation only is turned on, each individual on the Contact List will receive a unique link that cannot be forwarded to anyone else.)
- Send button


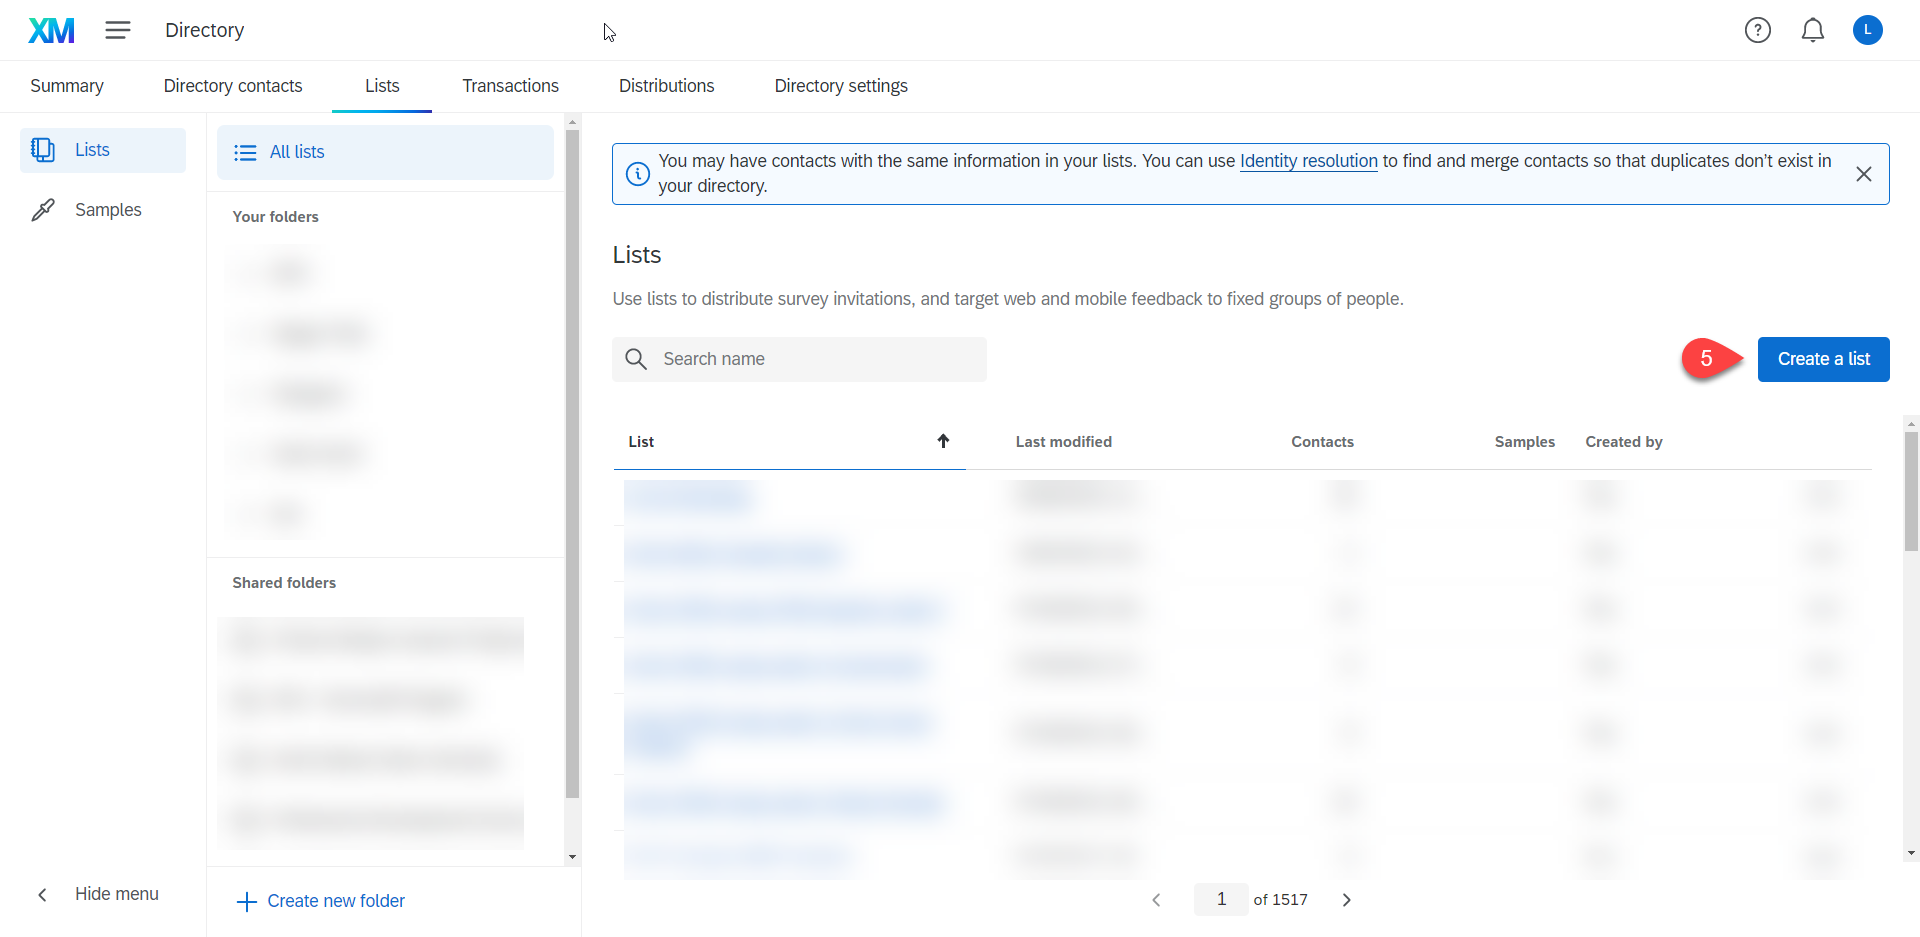
If the is list contains more than 200 emails
- Menu
- Directories
- Lists
- Create a list
- List Name
- Confirm
- Option to add emails (upload or manual input)
- Upload - Download the sample to learn the proper sequence. (Example below)
- Manual input (Example below)
Note: If you get messages about Identity resolution - pick you do not want Identity resolution because they are trying to have no duplicates in the whole directory instead of the list or panel. The only Identity resolution that will work for how we setup surveys would be Merge Newly add Contact but it easier to use excel to find the duplicates.
- Open survey
- Distributions (Screen would be the same as fewer than 200)
- Compose Email (Screen would be the same as fewer than 200)
- Select Contacts (screen would be the same as fewer than 200)
- List
- Pick the Library that you created the list in
- Type the list name in the Search Bar
- Click on the name of the list
- Select Entire Contact List
- List
- Finish the Compose Email (screen would be the same as fewer than 200)
- Pick when you want the email to go out - Options are Send Now, Send in 1 hour, Send in 8 hours, Send in 1 day, Send in 3 days, Send in 7 days, Send in 14 days, Send in 28 days or Custom
- Subject
- Message - Add your message. Ignore the links that seem odd, they are piping the survey ID. (When the option Invitation only is turned on, each individual on the Contact List will receive a unique link that cannot be forwarded to anyone else.)
- Send button


Uploaded a file option

Manual Input option - This option that I used the most


